This post is sponsored by Cheryl’s Cookies, but reflects my personal opinions.
Let’s be honest, while having a party may seem fun, hosting a party is a whole different story! Most of the time you’re expected to be checking in on everyone, making sure that there’s enough food for all the guests, and basically overseeing all of the happenings. To be honest, it can be an extremely tiring job. While I know the goal of the party is to spend time with people I love, more often than not, I get caught up in all the imperfections and end up in a bit of a frazzled state.
Lately, I’ve been working on changing my mindset so my main focus is spending time with loved ones. My mantra is “What can I make easier?”. One of my favorite remedies is ordering dessert instead of making it. When I order desserts, I always make sure to get a variety of items so there is something for everyone. My absolute biggest fear when throwing a party is that people won’t like the food so if you order a little bit of everything, there’s more of a chance someone will find something they really love!

One of the huge pros to ordering from Cheryl’s Cookies is that you can look through a whole catalogue of different treats. Another pro, is you don’t have to go to the grocery store. For some reason, I just don’t like grocery store shopping. It’s easier for me to look through online because there’s less chance I’ll forget something! As you can see in the picture, all the cookies ended up looking so pretty together! I purposefully ordered a variety of shapes, textures, and colors to get a more beautiful overall look!
I ordered the Marshmallow Frosted S’more Cookies, Brown Sugar Shortbread Cookies, Brondie Brookies, Chocolate Chip Cookies, Fudge Frosted Pumpkin Cut Out Cookies, and the Peanut Butter Oat Chocolate Chip Cookies. The Chocolate Chip Cookies were actually just launched in honor of Cheryl’s Cookies 38th anniversary! When I first opened them, I could see the sea salt on the top and it blends three different types of chocolates(Belgian wafers, semi-sweet morsels, and milk chips!). As I write this post, I’ve already eaten one Chocolate Chip Cookie, but I intend on eating at least 10 more! If you order anything, ORDER THIS! It’s sure to be a hit at your next party!
Side note: I loved that the desserts from Cheryl’s Cookies came in such pretty containers. They recently launched a collection of new fall and holiday products, which make the perfect teacher’s gift or hostess gift! As a former teacher, I can confirm that many teachers would be ecstatic to receive something so cute and delicious!
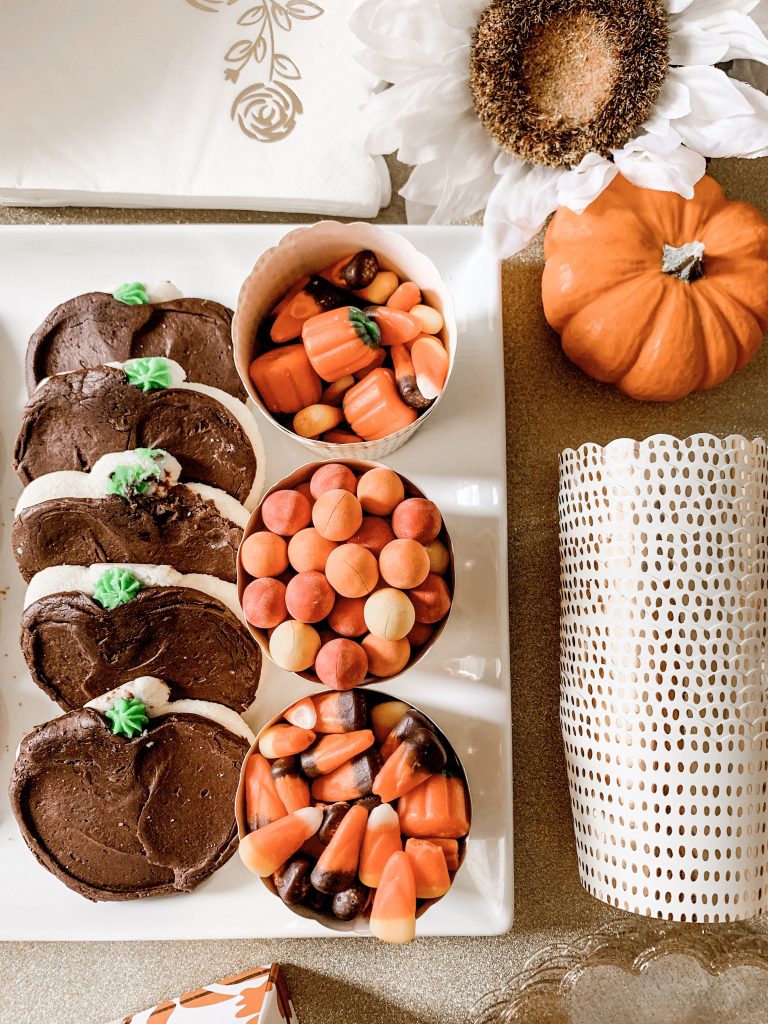
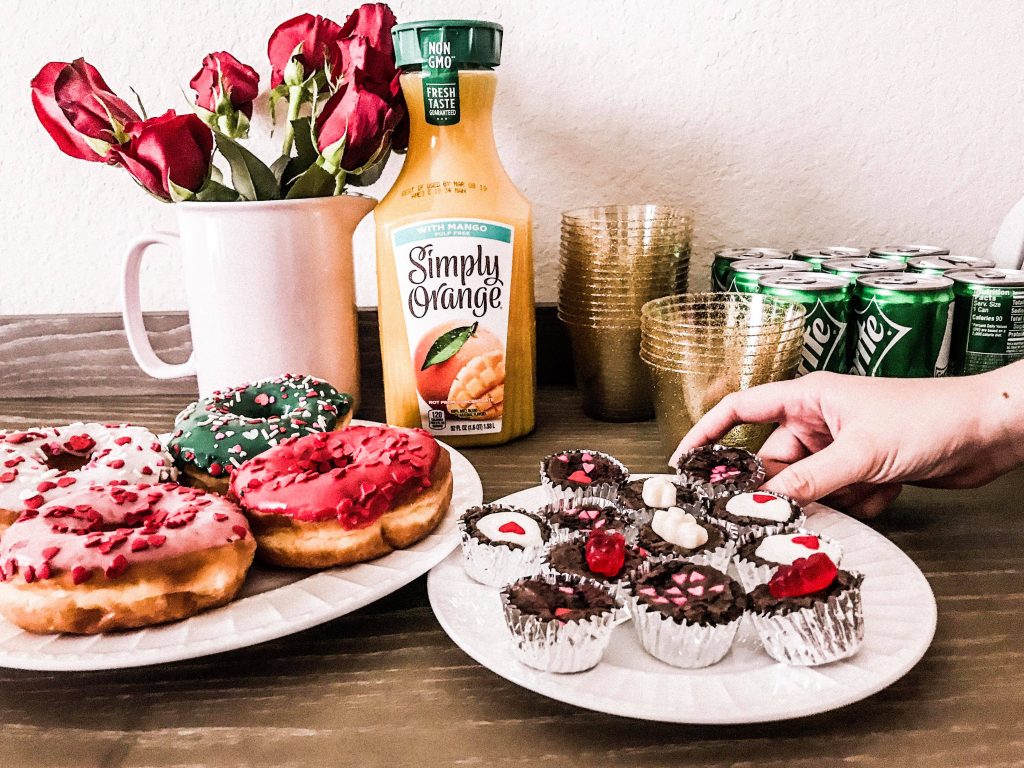
I found these cute paper cups and decided to throw a little Halloween candy in them to add some color to the tray. It took literally 30 seconds and made all the cookies really pop!

One of my biggest tips is to use trays for an easy and simple presentation! It doesn’t take much time at all to place the cookies and the presentation makes such a huge impression!
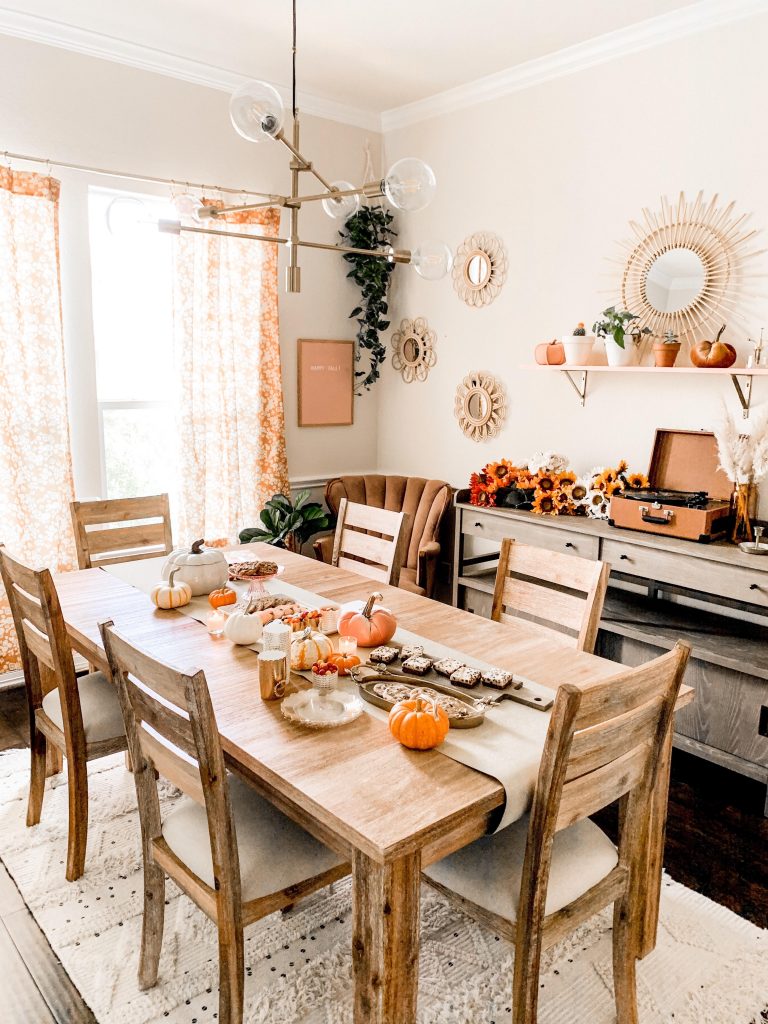
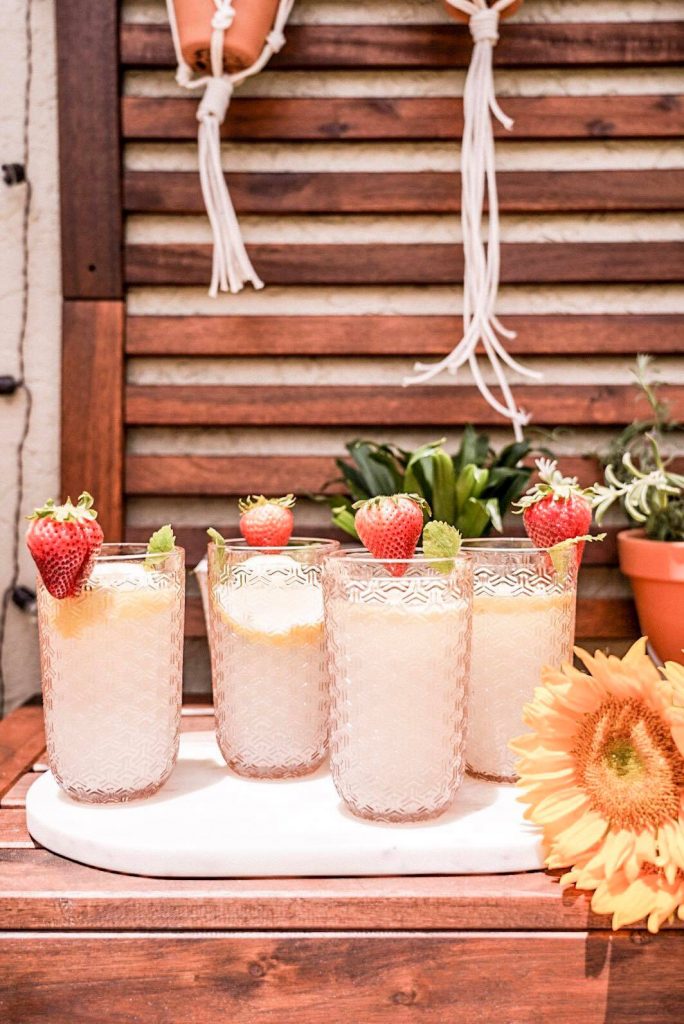
And of course, for that perfect fall feel, I added pumpkins, tea lights, and sunflowers to the dessert table to really make the area pop! While this dessert table might look elaborate, it was actually quite easy placing everything and I didn’t have to spend hours in the kitchen baking the treats! I’m excited to order cookies in the future because that means one less thing on my list to do! You can browse the cookies and desserts featured in this post by going to Cheryls.com!


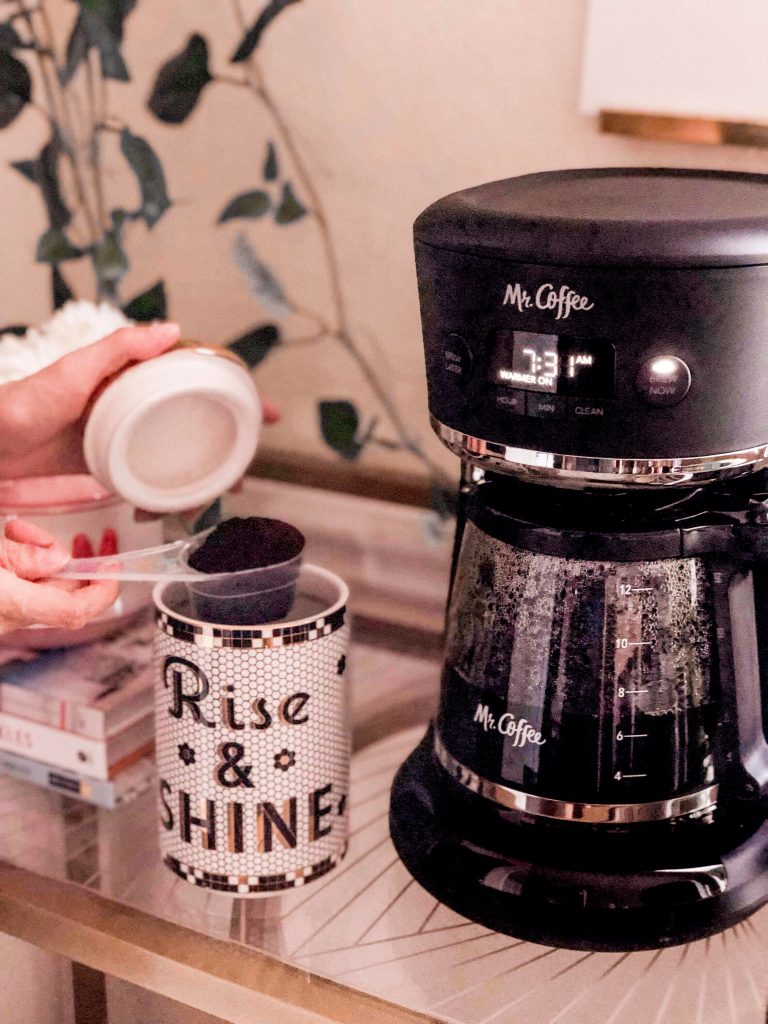
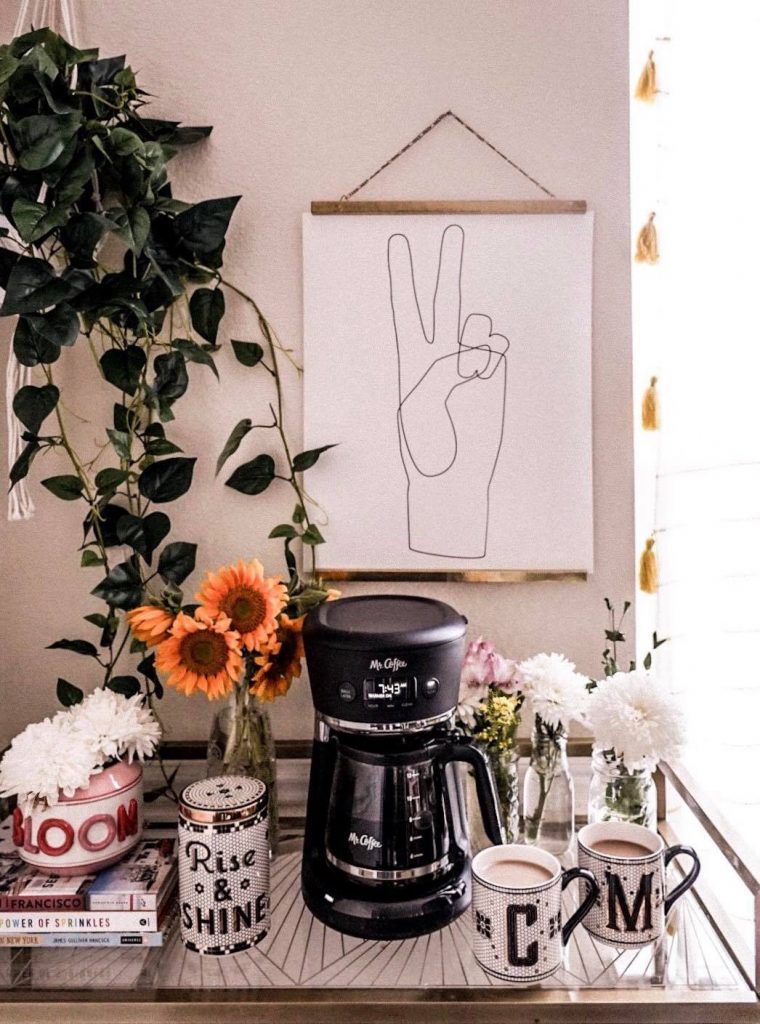 Obviously to design the coffee bar cart I had to first decide on what coffee maker to go with. The one I’m now using is the
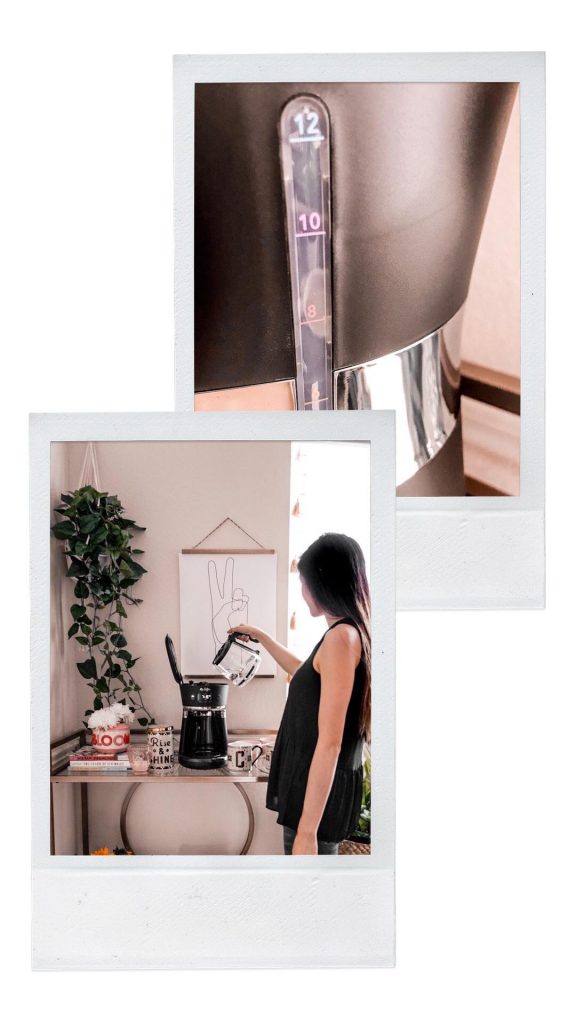
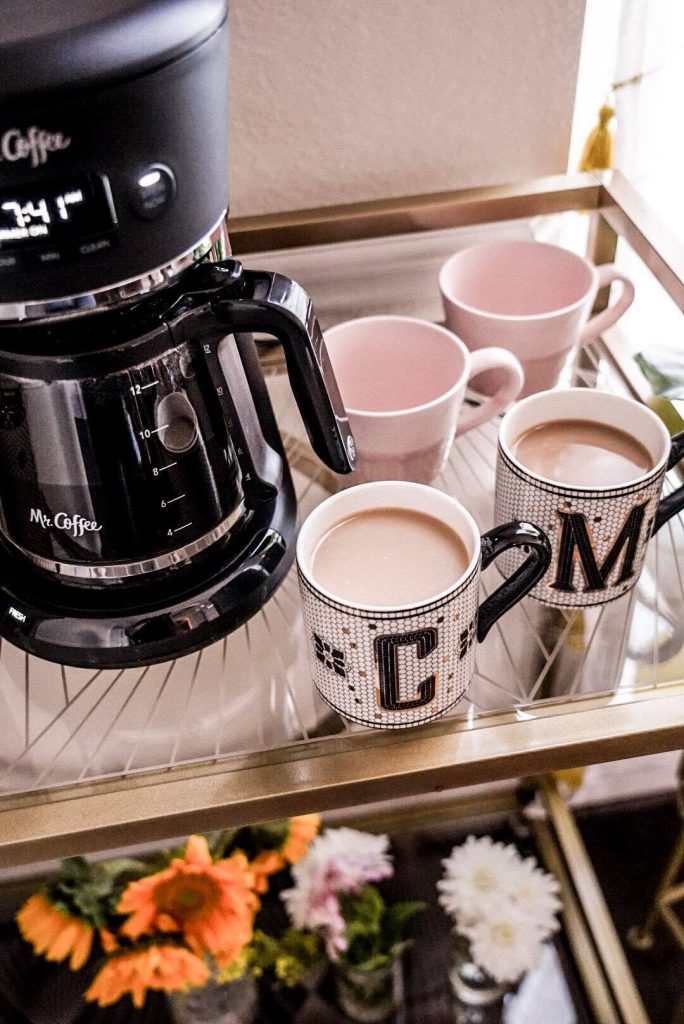 Our household cannot live without coffee. My husband is obsessed with coffee and is a little bit of a zombie before it so being the great wife that I usually brew us both a cup to start the morning off! Just out of curiosity, how many cups of coffee do you usually have in a day? Feel free to leave the number in the comments below!
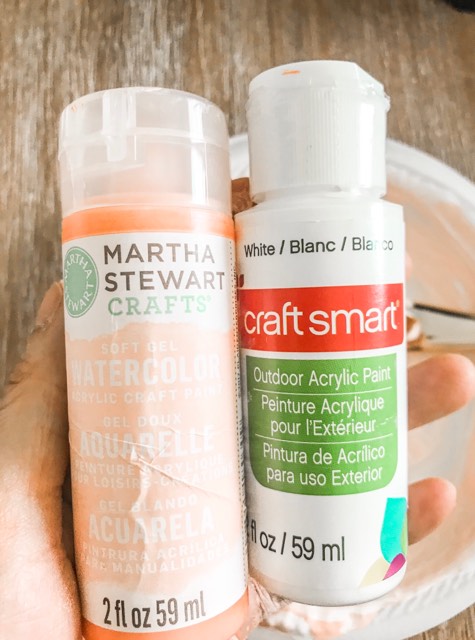 Near the end I ended up with this color, but obviously you can adjust everything until you get your desired color.
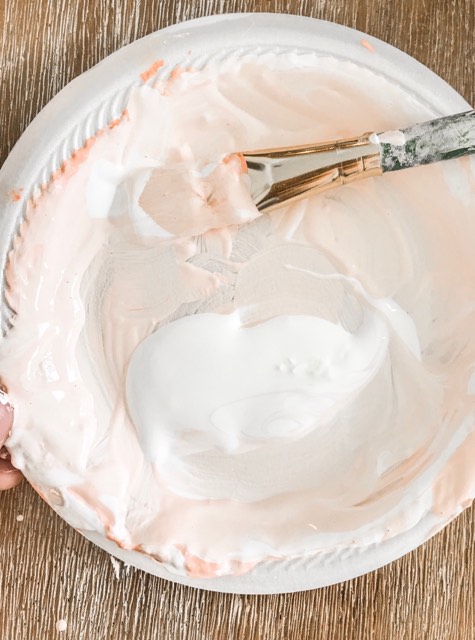

 The letter board is probably one of my favorite finds because they’re so much fun to customize and I knew she’d love changing it up!


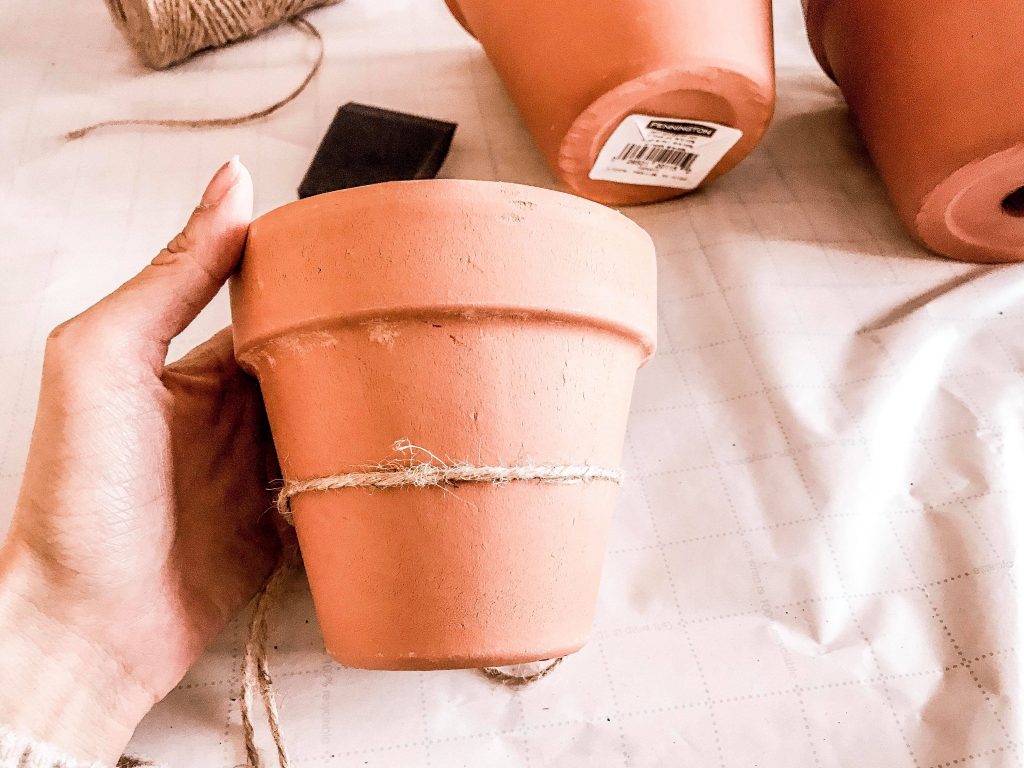

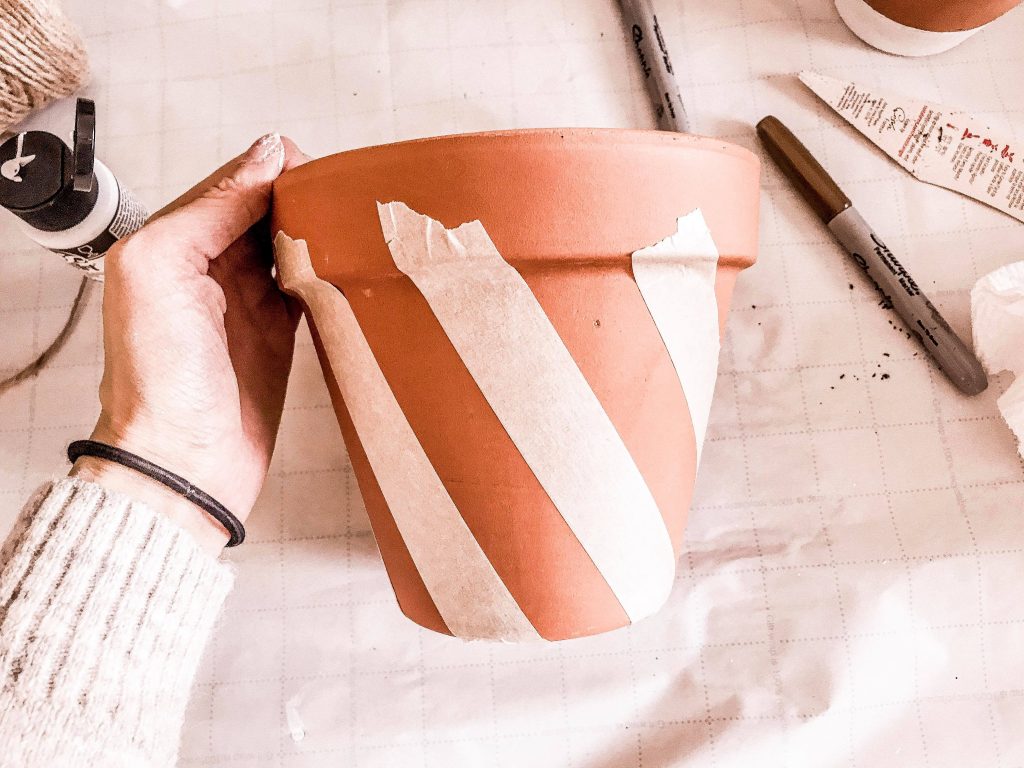
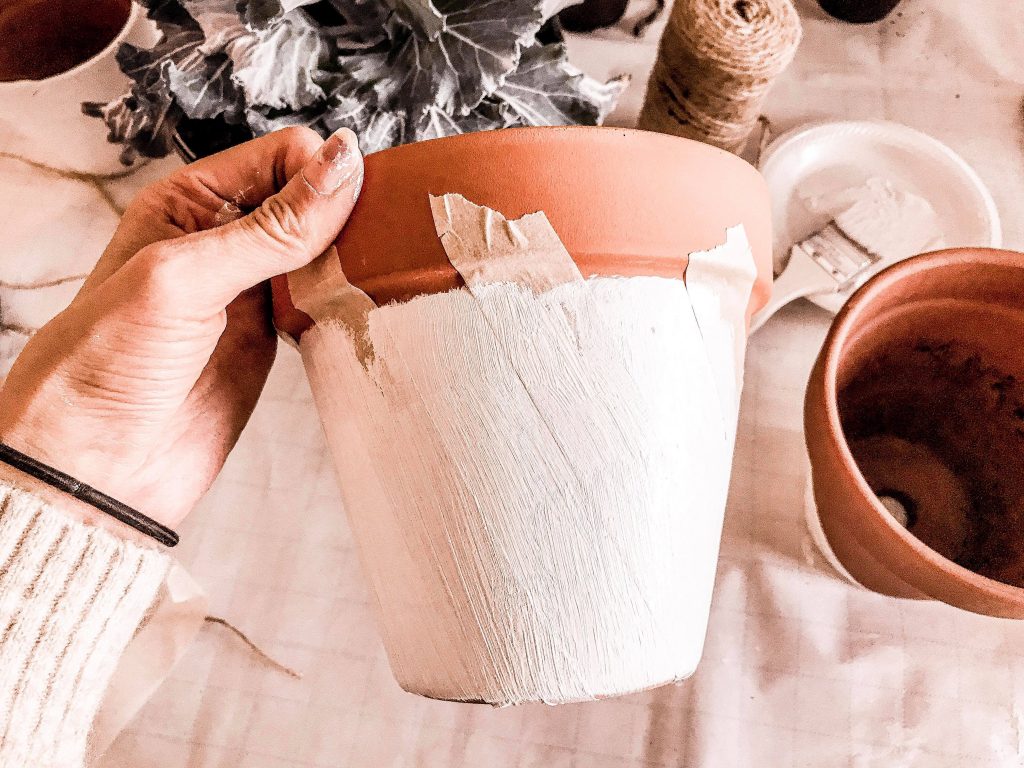
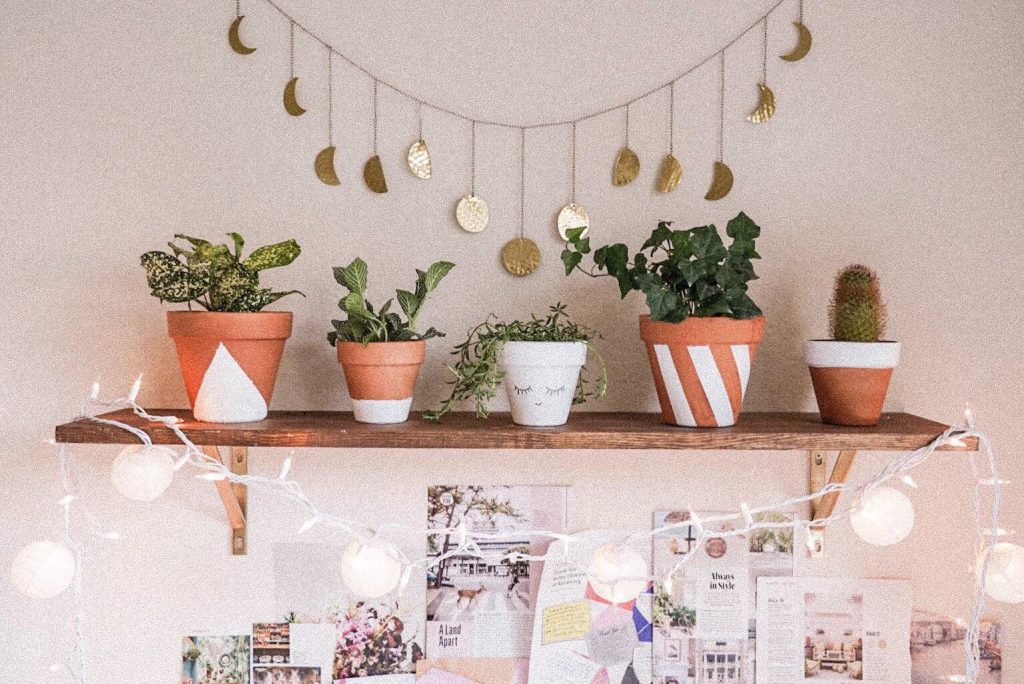
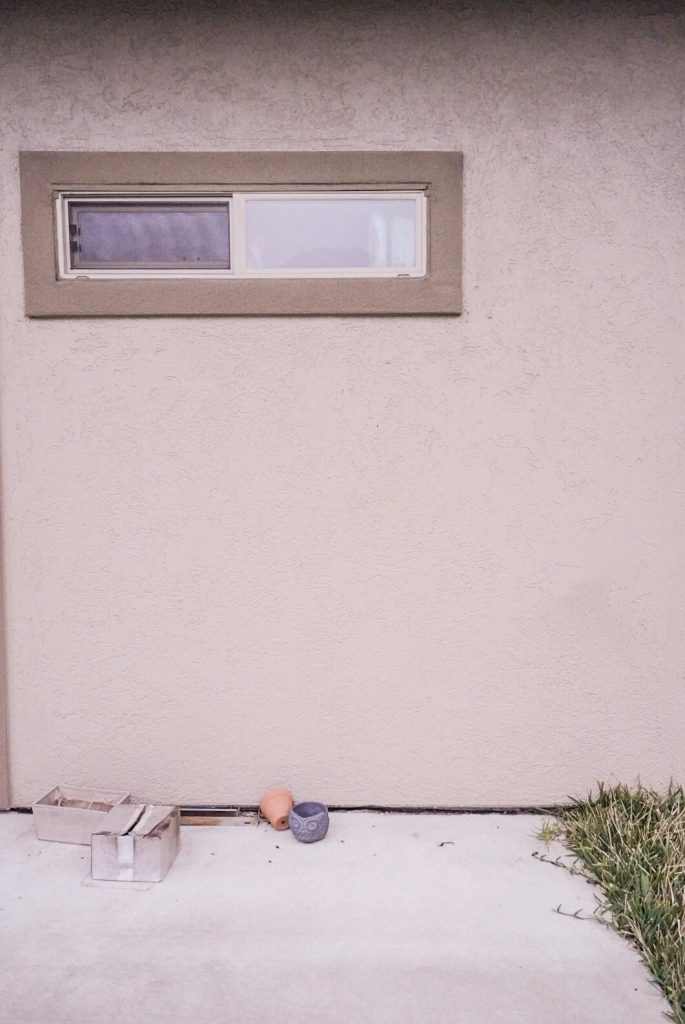
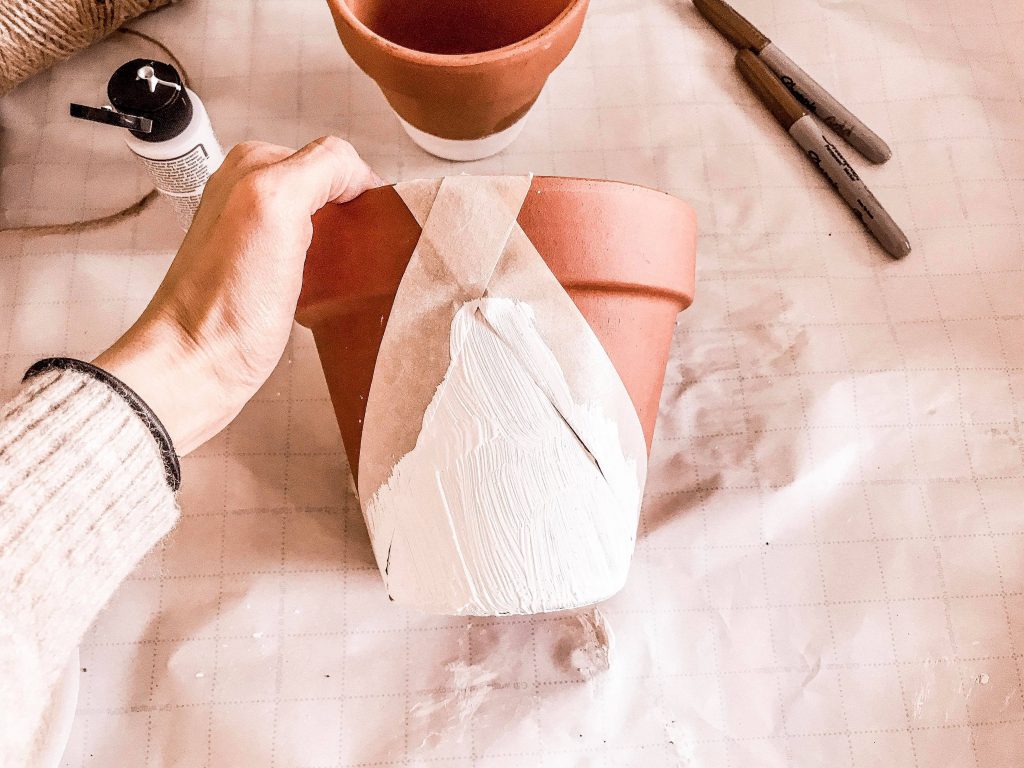
 3. Put two pieces of tape on the pot to make a triangular pattern. Then paint the triangle to create a nice geometric look. I forgot to take a photo of the final look, but you can see it in the last photo!
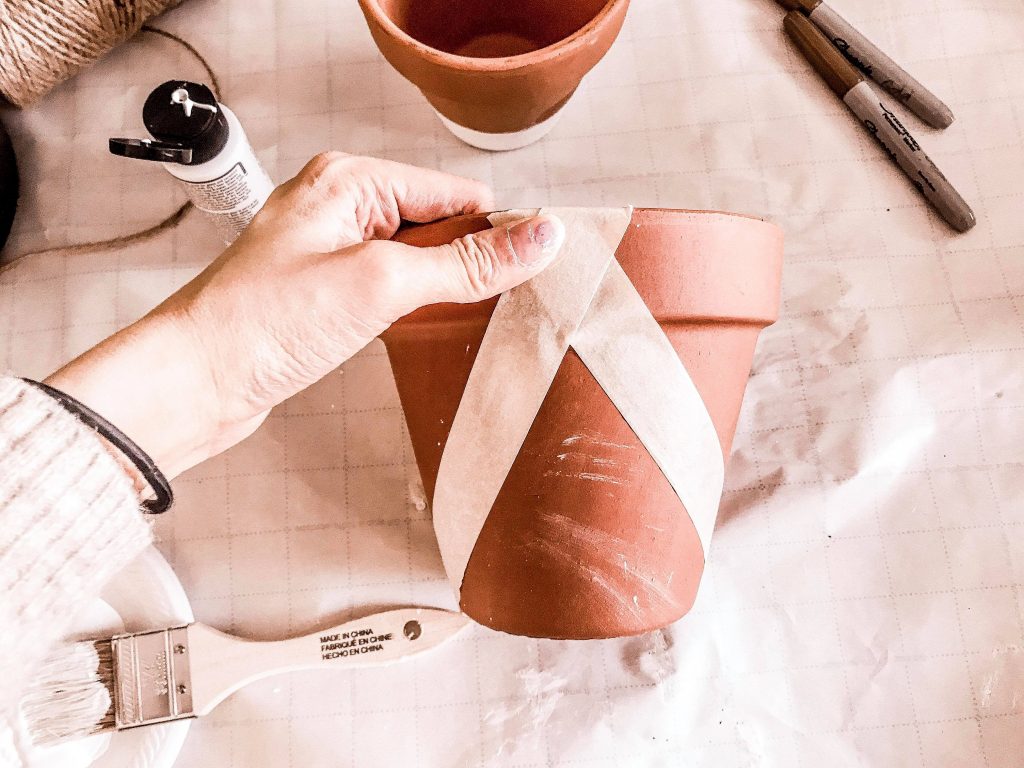
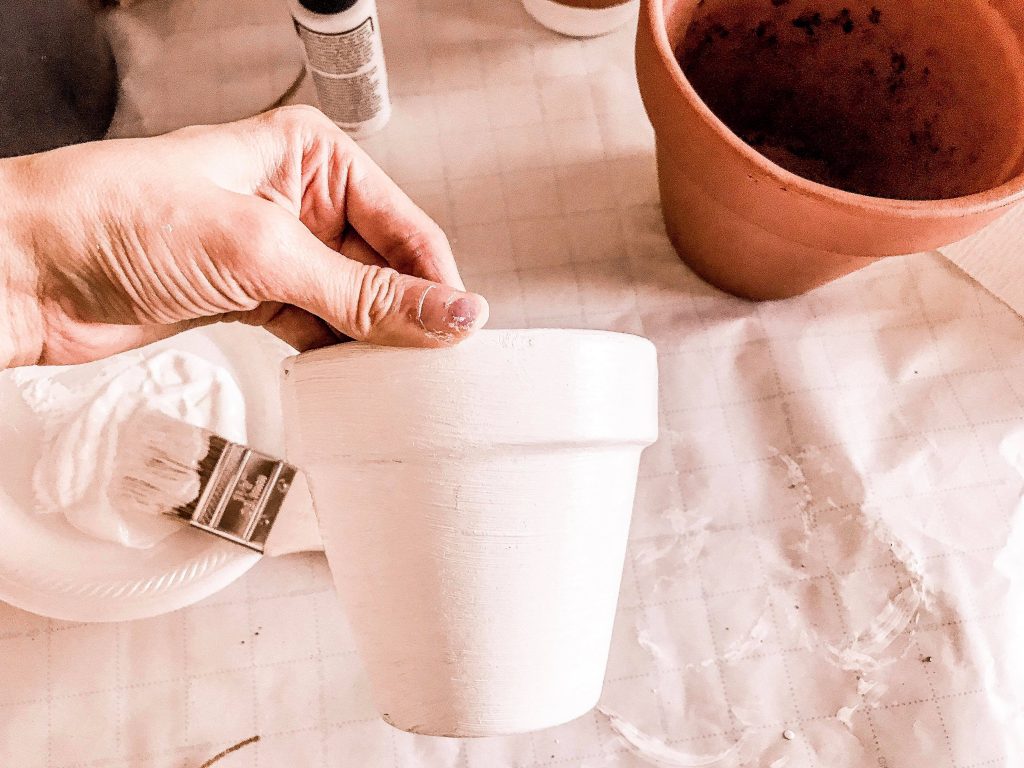
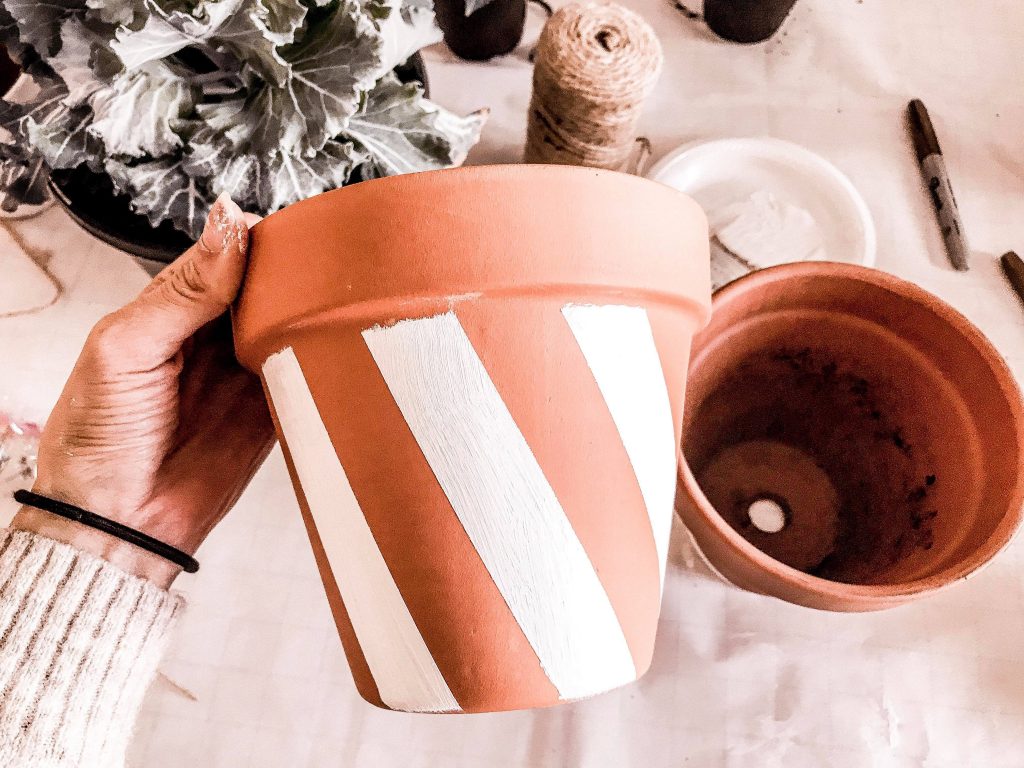
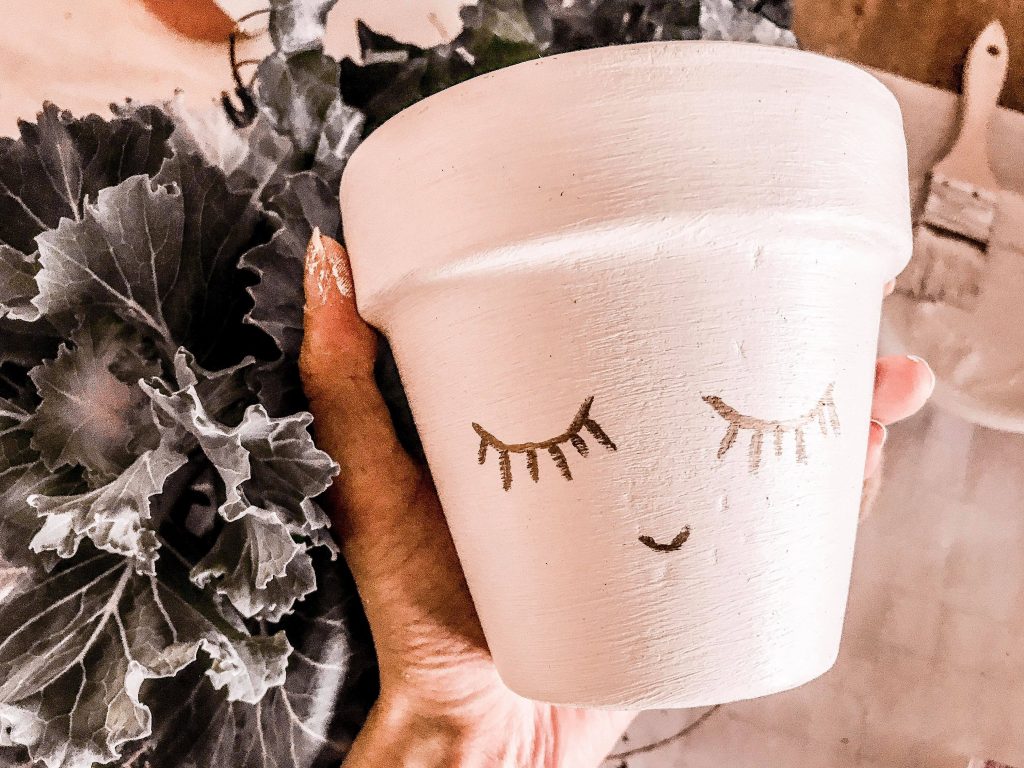 And there you have it! The cutest little pots you ever did see! They were so easy to paint. It probably took less than 45 minutes to do them all and they create such a fun look!